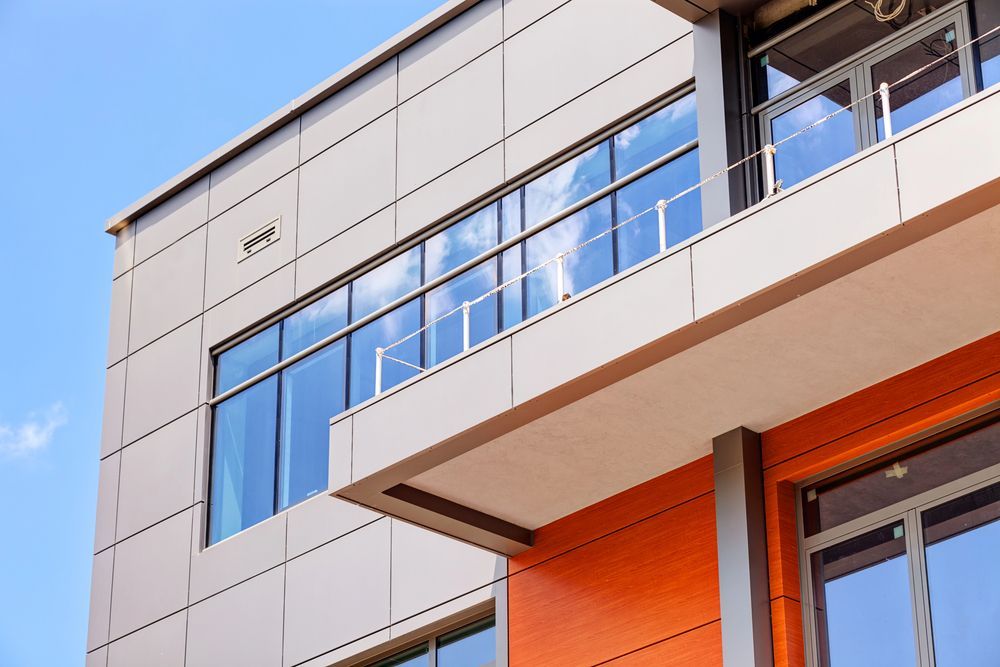
How to Install ACM Panels: A Step-by-Step Guide
When the first few ACM panels go up, even a slight alignment issue can carry over to the entire facade.
Installers often run into issues with uneven substructures, improper fastening, or panels that don’t sit flush once secured.
A clear, step-by-step approach helps avoid these setbacks and keeps the installation moving smoothly from start to finish.
What To Know Before Installing ACM Panels
Before any tools come out, you should understand how ACM panel systems function as part of a larger wall assembly. These panels work within a rainscreen design, so airflow, drainage, and proper fastening contribute to long-term performance.
Pro tip: Have your project teams review shop drawings, confirm measurements, and verify that all materials match the specifications before proceeding.
Tools, Materials, and Site Preparation
Having the right tools and materials ready allows crews to focus on alignment and fastening without delays. Common tools and materials include:
- Measuring tape and laser level
- Metal saws or CNC equipment
- Fasteners, clips, and anchors
- Sealants and gaskets
- Cordless drill
- Personal protective equipment
Step 1: Measure and Plan The Panel Layout
Crews should mark reference lines across the wall to establish panel positioning and spacing.
Mapping the layout ensures that panel joints align correctly with structural supports and openings, such as windows or doors.
Step 2: Prepare the Substructure
The substructure supports the panels and keeps the system aligned over time. Installers should confirm that framing or sub-girts sit level and secure across the full surface.
Any variation in the substructure can transfer directly to the panels. Adjustments at this stage help avoid visible inconsistencies later. A properly prepared base also supports airflow behind the panels, helping with moisture control.
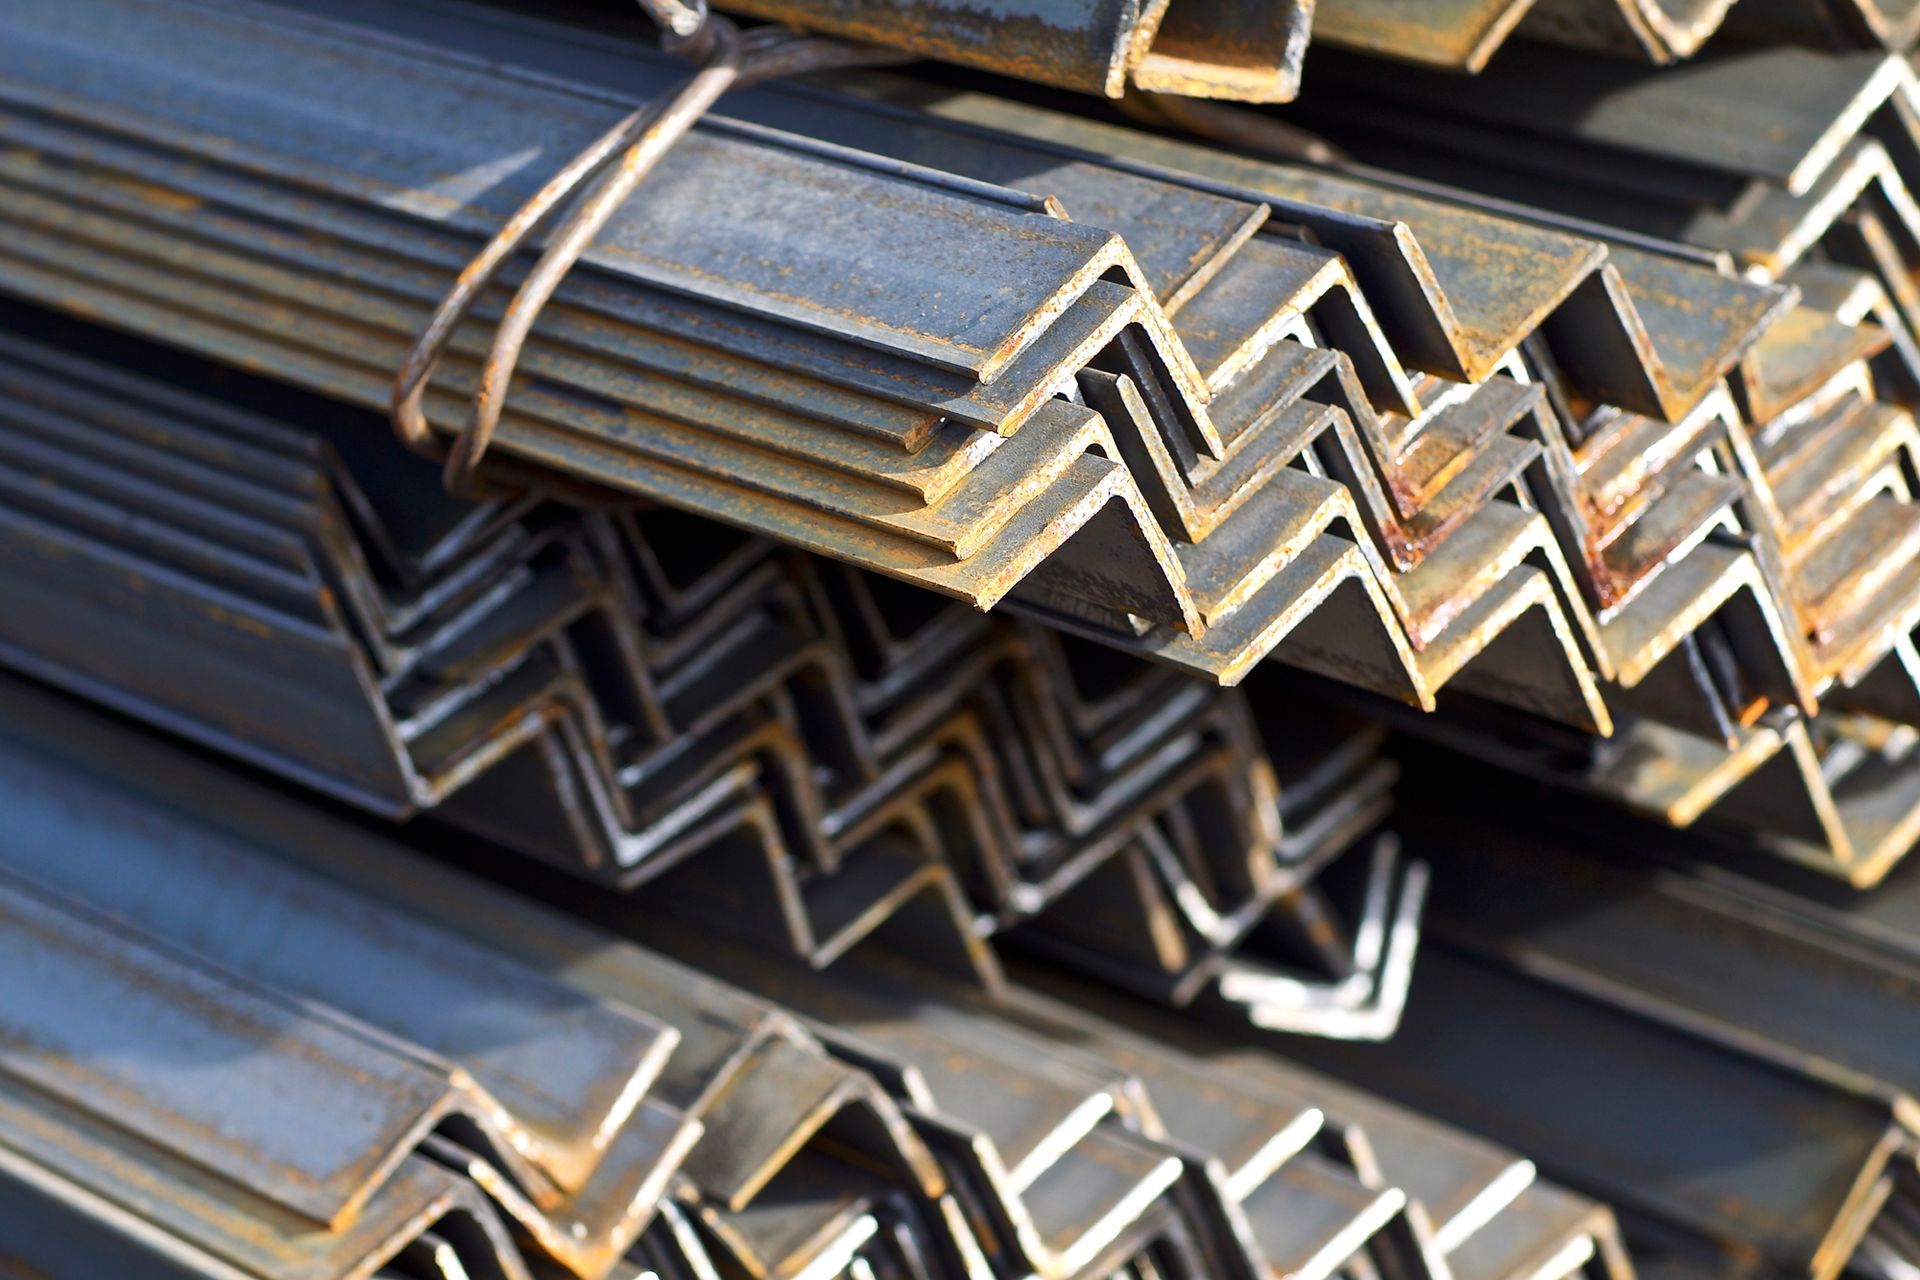
Step 3: Cut and Fabricate the Panels Correctly
Crews should follow manufacturer guidelines when trimming panels to size or creating openings for fixtures. Maintaining clean edges and accurate dimensions helps panels lock into place without gaps or stress points.
Step 4: Install and Secure the Panels
With preparation complete, installers can secure the panels to the substructure. Panels should align with the reference lines established earlier and connect according to the system’s fastening method.
Install fasteners and clips with consistent spacing to support structural performance and allow for natural movement during temperature changes.
Step 5: Inspect the Finish and Clean the Surface
A final inspection ensures the installation meets visual and performance expectations. Crews should review panel alignment, fastening points, and joint consistency across the facade.
Cleaning the surface removes debris, fingerprints, and residue that may have collected during installation.
Common Mistakes To Avoid When Installing ACM Panels
To reduce the need for rework and help protect the systems’ appearance and durability, don’t:
- Skip detailed measurements and layout planning
- Install panels over an uneven substructure
- Use incorrect fasteners or spacing
- Cut panels without proper tools or guidelines
- Overlook final inspection and cleaning
Why Proper ACM Panel Installation Matters
ACM panels deliver long-term performance when installed with precision and care. Proper installation supports durability, weather resistance, and a clean architectural finish that holds up over time.
Get the materials and support your project needs from Phoenix Metals.
Contact us for a complimentary quote.